You can use the magic wand to do selections of tonally similar areas to either replace or
modify (use ‘Shift click’). Items could be blocks of colour you wish to change (for instance
using Hue and Saturation) or parts of an image you want to replace.
One of the most useful extraction tools however is the ‘quick selection tool’ in the main
tool palette (4th one down). This almost seems to read you mind when making a selection
and is therefore very rapid.
You can the use ‘Layer Masks’ in combination with a selected area/s hide but not delete.
This can be found at the bottom of the layers palette (the icon is a circle in a rectangle).
We used this when doing the montage of faces in the first Photoshop workshop.
2) Image Extraction
The lasso or the magnetic lasso may seem like the obvious way to extract an image when
creating a montage but from Photoshop CS3 an extraction filter especially for this purpose
which was ideal when there were issues like hair or fur on the edge of the person or animal
etc you were trying to select. Unfortunately for CS4 it was removed and became an
optional plug in!
For the last two versions of Photoshop (CS5 & CS6) it has been dropped altogether. It is now
recommended that ‘refine mask’ is used in the ‘Select’ menu (shown in lecture). A slightly
‘cheesy’ but helpful explanation can be found here:
http://tv.adobe.com/watch/the-russell-brown-show/advanced-masking-with-photoshopcs5/
Faking slow shutter speed…
3) Motion Effects
You can use the blur filter for things like motion blur and radial blur to get a sense of
movement – though using shutter speed on the camera is usually preferable.
Faking shallow depth of field…
4) Altering depth of field
There are several ways you can ‘fake’ shallow depth of field such as:
• If you want to keep specific areas in sharp focus select these areas (Using the extraction
tool for example) and put then in a new layer. Now, in the background layer (i.e. the area
you want in soft focus) use a ‘quick layer mask’ (bottom of the tool palette) and draw a
gradient using the gradient tool, deselecting the quick mask and add a Gaussian blur from
the filters menu.
• Use a feathered selection (about 70px is a good starting point), invert the selection and
adding a Gaussian blur.
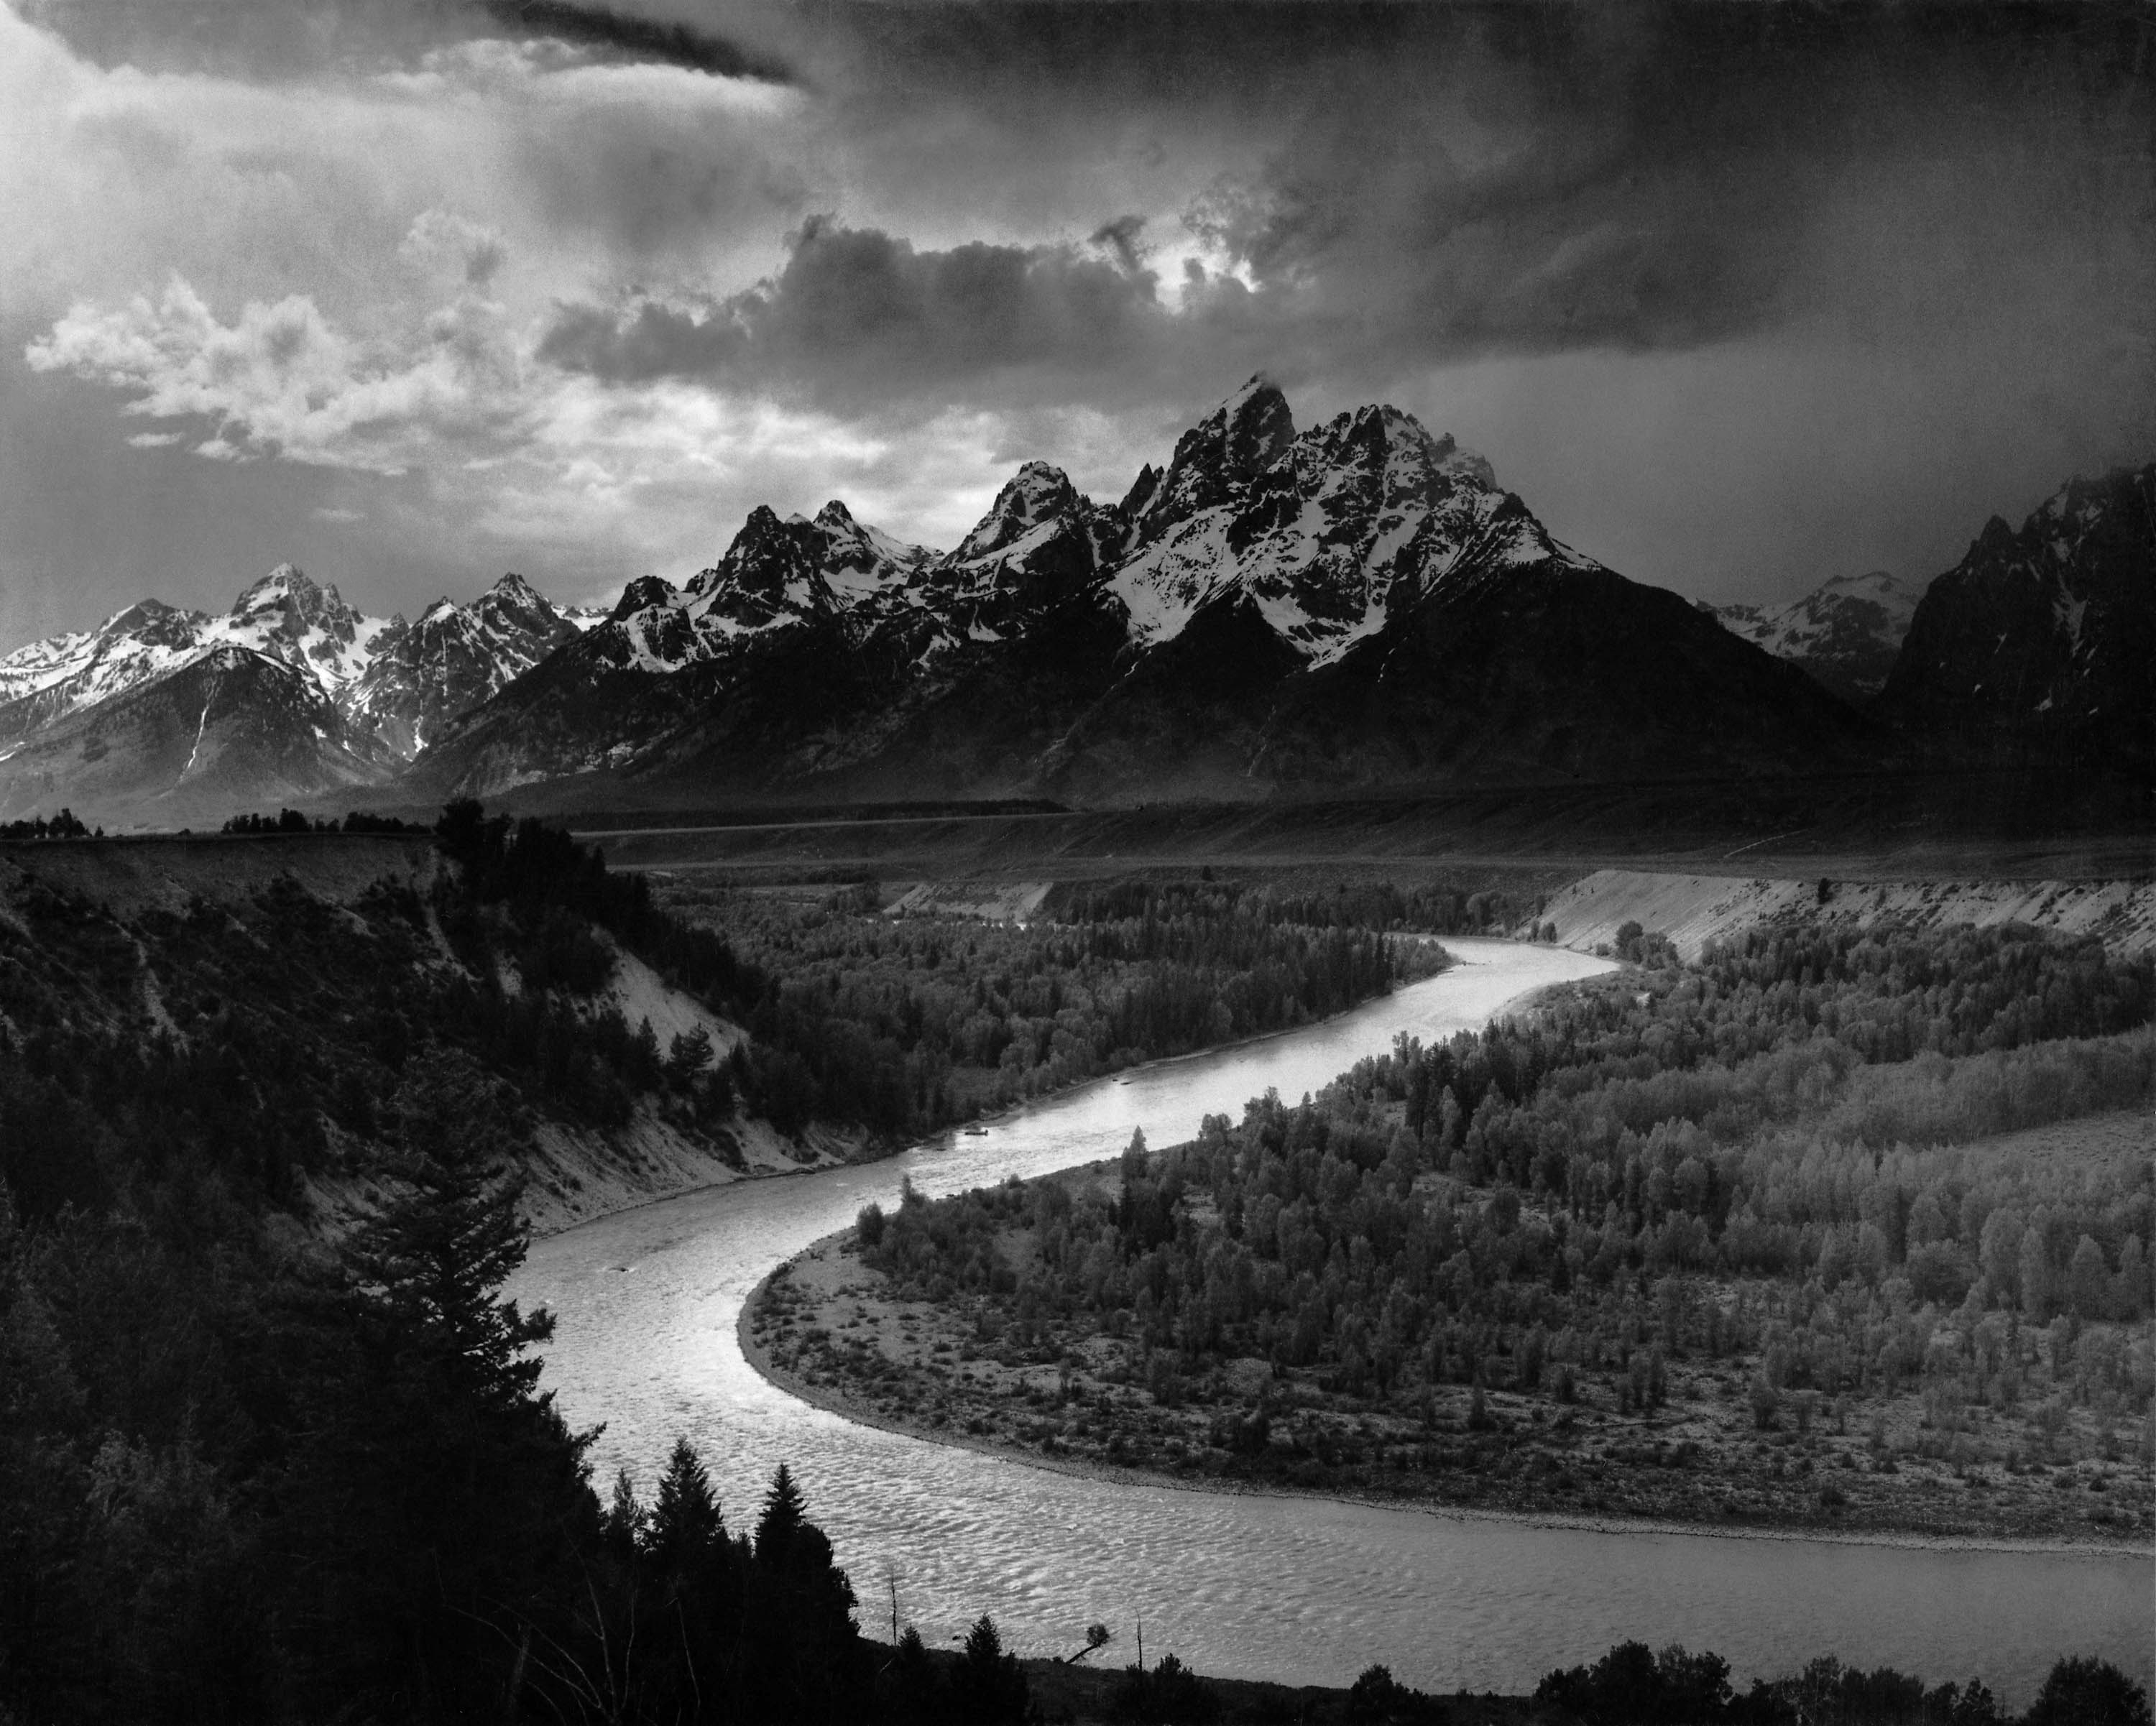
5) Monochrome from colour (…for that Ansel Adams ‘look’…)
Changing to monochrome (black and white) is much more than just converting to grey scale
– and don’t use the monochrome option on some digital cameras. Its much better to shoot
in colour then convert to black and white using Channel Separation. The old way to do this
was either use the channels pallet or for more control use the channel mixer under image >
adjustments > Channel mixer (remembering to select monochrome!)
These options are still there but in CS4 there is also the ‘Black and White’ option (under
the ‘Adjustments’ palette). The title ‘Black and White’ belays just how much control it
gives you on the image – you can apply virtual colour filters and adjust separate channels –
making you into a bit of an Ansel Adams…


6) Stitching images in Photoshop
You can use the menu option file/automate/photomerge to stitch images. Choose your
source files (i.e. the pictures you want to stitch) and Photoshop will try and merge them.
You can also do this manually in the way I showed you in the lecture – but it can be time
consuming.
Paul Hazell
No comments:
Post a Comment